There comes a time in the life of an ironing board when it needs a new cover. For our board, the time came long back but I had been shying away from making a new one. However, since our clothes were getting the metal grid marks when pressing, I finally decided to give it a go. I tried searching for a simple way of doing it and found a lot of tutorials that used the older cover and simply made a new cloth cover. However, that wouldn't do it for us. For the frequency at which we have to iron our clothes, our board needed a lot of padding. Then I came across a quilted piecing tutorial which gave me an idea… why not make a quilted cover for my board. And so it began…
I used a vintage sheet, some cotton batting and some high loft batting to get some extra padding for my cover.
Step 1: I measured the ironing board at the longest and widest point, added about (2 to 4 inches to both measurements to make the final cover more roomy. My original one kept slipping off the board.)
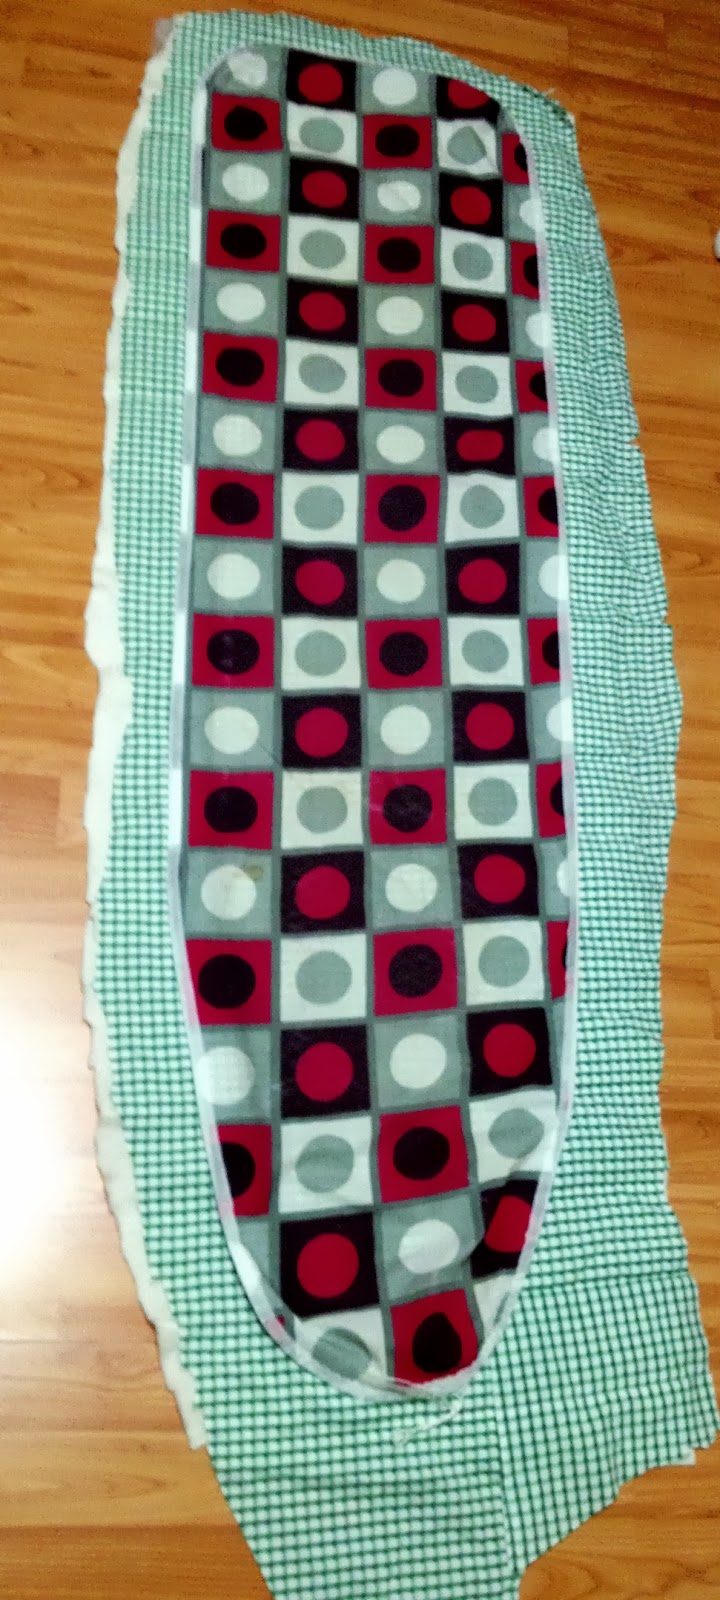
With these measurements, I roughly cut rectangles from my fabric and both battings. Made a sandwich with the fabric on top, followed by cotton batting, followed by the high loft batting.
Step 2: Then I went ahead and quilted this sandwich with straight lines across top to bottom and left to write. Where I didn't have enough fabric to cover the batting, I added a patch (You will see it at the narrowest edge of the picture below.
Step 3: Then I put the original cover over this sandwich to check the size.
Checked it on the board skeleton to see if the cover will fit fine all around.
The quilting shifted the sandwich layers a bit so I went ahead and re cut the edges to have roughly 1.5 to 2 inches around.
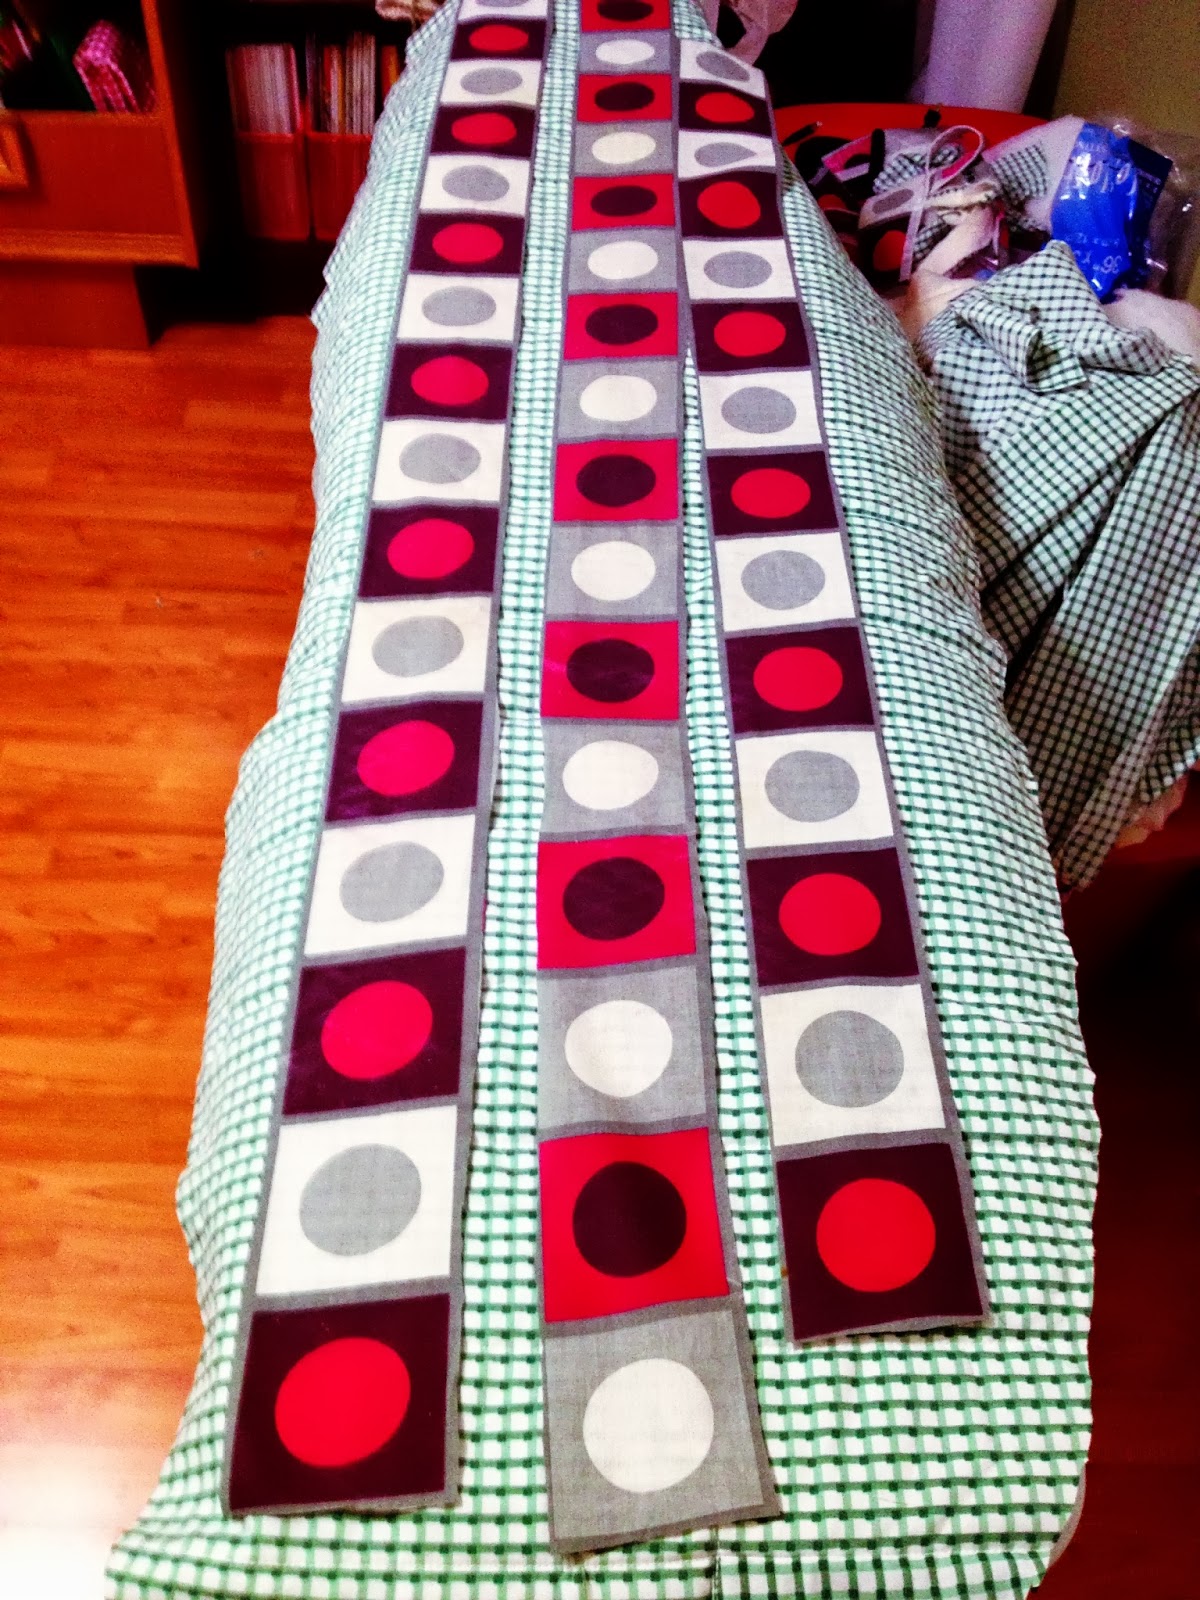
Step 4: Next I needed a casing for the elastic/ tie that would make the cover fit snugly. I didn't want to use the nicer fabrics I have in stash cause I already have a plan for them. So I decided to use as much of the original cover as I could. Luckily for me, the original cover's pattern had solid lines going on, so I cut strips using those.
Step 5: Then I joined these strips in the same way as joining strips for bias binding… place two strips right sides together, perpendicular to each other, and then sew a diagonal from the left top edge of the crossover, to the right bottom. Opened the strip to check the straight line and then trimmed the excess off. I joined three long strips and had just enough to go all around the cover sandwich.
Step 6: Attached the casing by folding over at the edges, sewed all around. Then folded the raw edges under the cover and used a zig zag stitch to attach it all around.
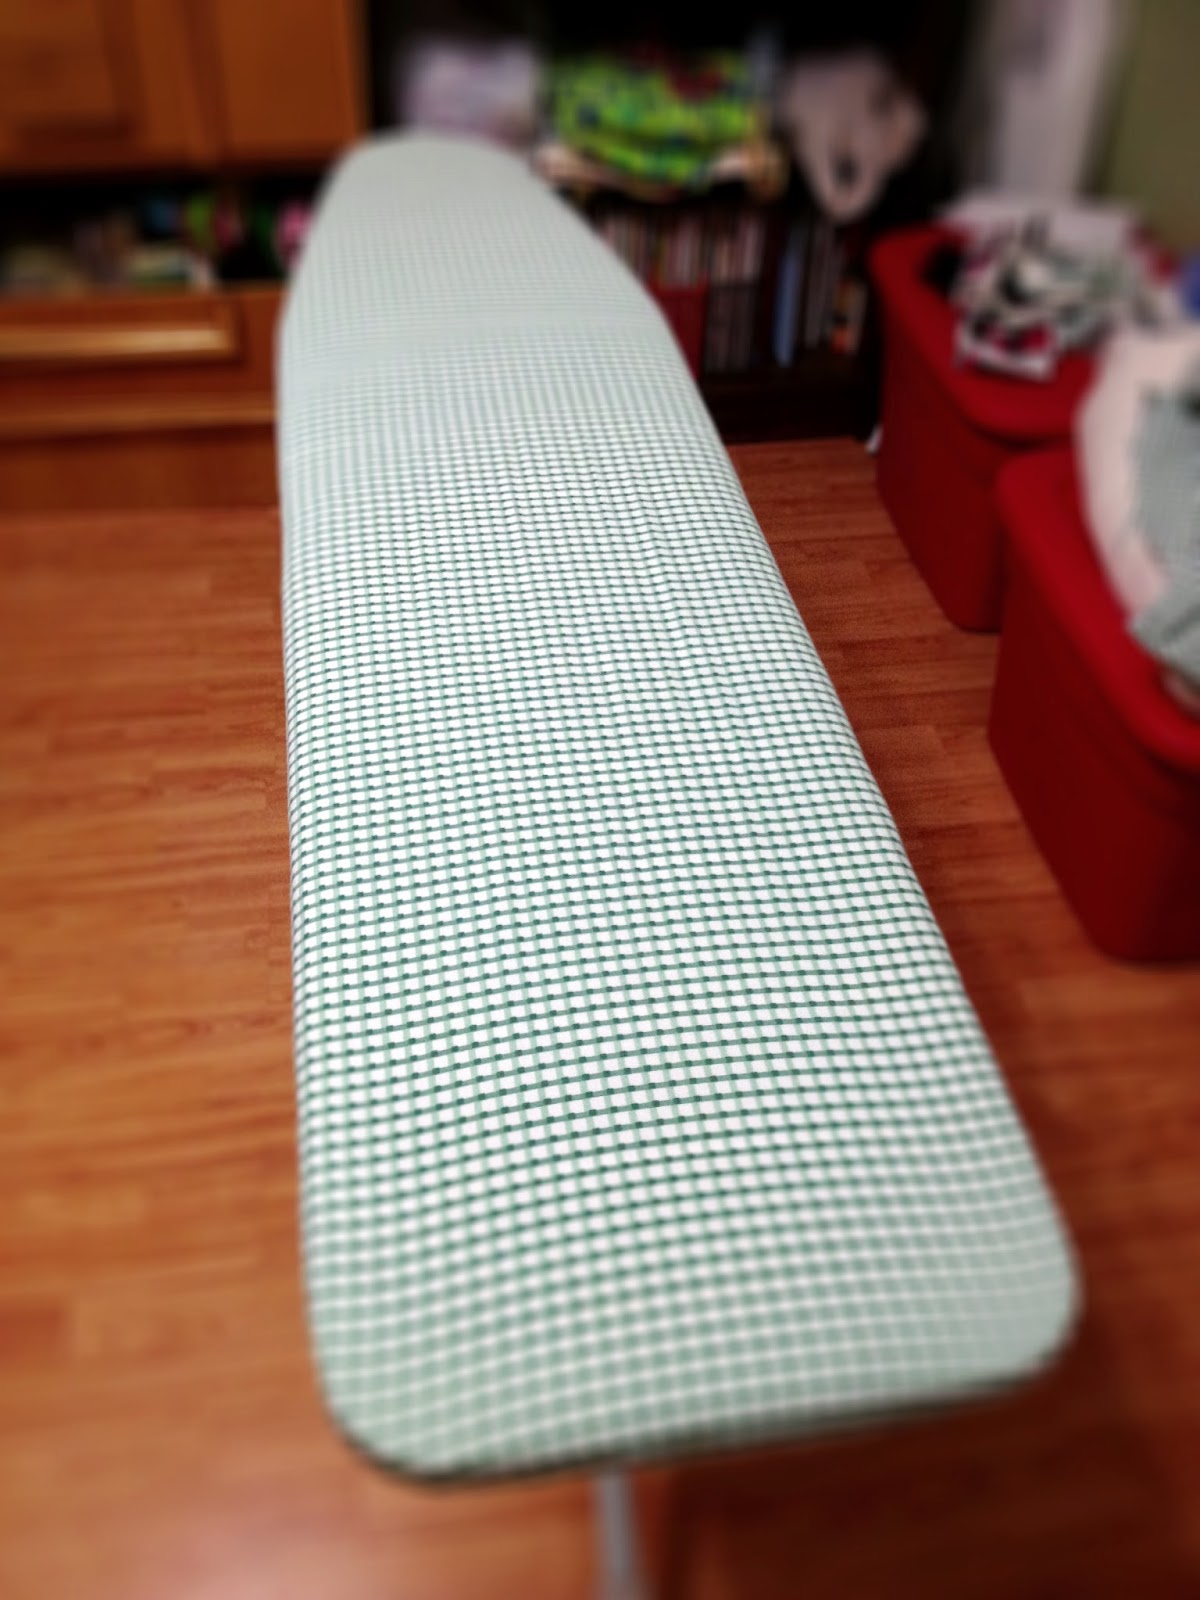
Step 7: Measured elastic at the centre length of the ironing board, 3 inches short each side. Then put it through the casing with edges held together with safety pin temporarily. Put the cover on the board and then pulled the elastic taut. Knotted the ends. (This was me planning for a future where I would need to change the elastic. And voila… I had my new ironing board cover with extra padding!!!
Onto the next project then...
------------------------------------------------------
© DESILOOP
 Yarn is prepped for dyeing

 Sindoor (vermillion in Hindi) colorway