Saturday 28 December 2013

A New Test - Part 3 (Final)

I thoroughly enjoyed my test on this one since there were such subtle but clever design elements all along. Still love the collar bit and am planning to use the technique in one of my own future patterns. For now, here are some finished project pictures.

Flat view

I contemplated on which kind of closure I want for this one since the pattern didn't offer a suggestion while test knitting. So even though I tool some great pictures with a DPN as a pin to close the fronts, I decided I needed a more permanent and practical option. So I have finally added an I-Cord closure to this sweater and it works really well.


Here is a closeup


In the end, I would highly recommend this pattern for folks with kids in addition to themselves. Here are the details:

Pattern Name: Harvest
Designer: TinCanKnits
And I am sure other sites where the designer is available.
Sizes available: Newborn to 4XL

------------------------------------------------------ © DESILOOP

Friday 13 December 2013

A New Test - Part 2

Since my last post, I have rather enjoyed completing my test knit. I completed it on Dec 1 while knitting a few rows everyday since I began. It is difficult to get knitting time during weekdays whence juggling between full time work, taking care of son after school and then maintaining the house and cooking dinner for the night and lunch for next day for everyone. I admit I also skip my lunches most of the time. Anyways, I do try to get in a few minutes of knitting or crochet while watching TV most nights. 

So I did do two gauge swatches for this project but none of them gave me the exact gauge as in pattern. (See previous post for details) Gauge 2 was the closest with stitch gauge matching exactly and row gauge 2 rows short. i.e. pattern required 28rows per 4 inches but I got 26. This is generally the case with me. I do try to match stitch gauge exactly and then follow the directions for inches instead of exact number of rows in the pattern. Of course for me to be able to do that, the pattern needs to have the required inches information. And this one did. However, there was a confusion due to two different stitch gauges mentioned in the testing call and the actual patterns. After getting clarity on this, I would say, the rest of the knitting went on smoothly. Any errors/ confusions/ issues that I found, were already addressed or pointed out by other testers. Here are a few pictures of the project in progress.

Here I have completed knitting the back neck.


Here I have done the yoke and all front increases but I was too quick… 


I had made a mistake and misinterpreted the directions. Some of the front increases were to be done after sleeve separation, so I had to frog back to before sleeve separation and then redo this bit. This looked much better and exactly as per given directions.


Here I have completed the body and am on to knitting the sleeves.


I rather like that the front bands are completed with the body. Just wished there was some kind of closure added to the directions. Hoping that the final published pattern would have it.

Stay tuned for final project completion and modeled pics in the coming weeks.

------------------------------------------------------ © DESILOOP

Friday 22 November 2013

A New Test - Part 1

Since I test patterns for other designers occasionally, I thought it would be great to walk through the whole journey on one of my latest ones here.

The intended gauge is 18sts and 26 rnds per inch. My yarn is Paton's classic wool worsted in natural mix colorway.

I tried my gauge with two different needles: US 8/5mm and US 7/4.5mm. The following pictures will demonstrate how being off on gauge will produce ill-fitting results. Both gauges are exactly the same number of sts and rows and lightly steam blocked. Do you notice the difference in finished size?


The one on top is giving me the right stitch gauge and is done with US 7/4.5mm needles.

The one at the bottom is off my a couple of sts and quite many rows and is done with US 8/5mm needles.

Thursday 31 October 2013

The 'G' Word - G is for gauge

G is for Gauge!


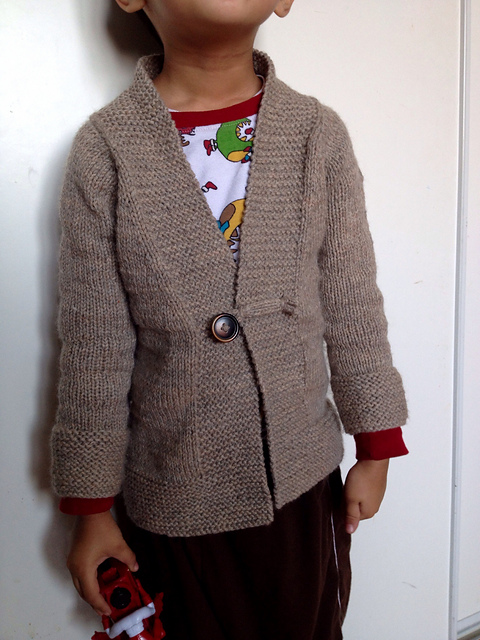
As some may know, I have been knitting and crocheting forever. However, for most part of this period, this word was non-existent in my vocabulary. And yet, all my projects somehow ended up being great fits and useful. So far I had mostly knit and crocheted hats and sweaters, and, I like to think that my hands were intelligent enough to pick the right yarn for my project while my brain was functional enough to always come up with the right number of stitches to start my project with (based on my chosen yarn). The sweaters I made were drop shouldered, knit in pieces, to be sewn later on. The hats were always from the top down so that I could check the size while it was in progress. A few minutes of thought would lead to the right stitch pattern for the body of the sweater and I could whip everything I undertook, only in a couple of days. I tell you, those were the days… Taking another look at this phase, I have come to realize that I almost always worked with yarns in the Sport to Worsted weight range. For all of these the number of sts were set in my mind due to the large number of projects I had made. None of these projects were made as design samplers, but were mostly for my, family and friends.
After quite a few years it dawned on me that I should be offering my patterns so others might be able to make these projects if they so wished. In order to do this, I could go two ways… provide tutorials to create ones own pattern before starting the project - this would involve calculations to be done at the user's end; or, go the usual route by provided pre-calculated patterns for standard sizing. After much contemplation, it made more sense to choose the latter. Especially since I started with submissions to magazines and they do require pre-calculations based on standard sizing information. For this exercise, making a gauge swatch was one of the most essential steps.

What is Gauge?
It is a measurement of the number of stitches and rows (or rounds in case of circular knitting) in a given number of inches (or cms if using metric system), usually 4 inches (or 10cm) OR 1 inch (or 2.5cm).
This basic block helps decide the measurements of the finished project in a pattern.

Why is it essential?
This is an important building block of a design since it is rare that two knitters or crocheters will get exactly the same number of stitches or rows/rounds in the same number of inches/cms with the intended yarn for the project and the required stitch pattern.

What does this mean?
This means, every knitter's/ crocheter's gauge is unique.

This is why most designer's will provide their gauge for a design. Meeting this gauge is essential if you are to end up with a project that meets the measurements given in the pattern for your size.

What is a swatch?
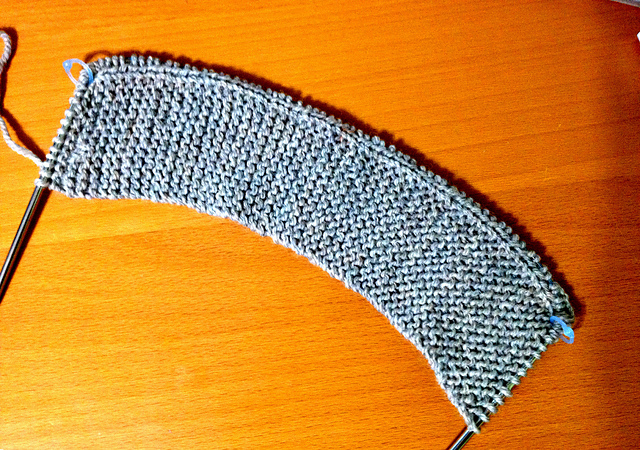
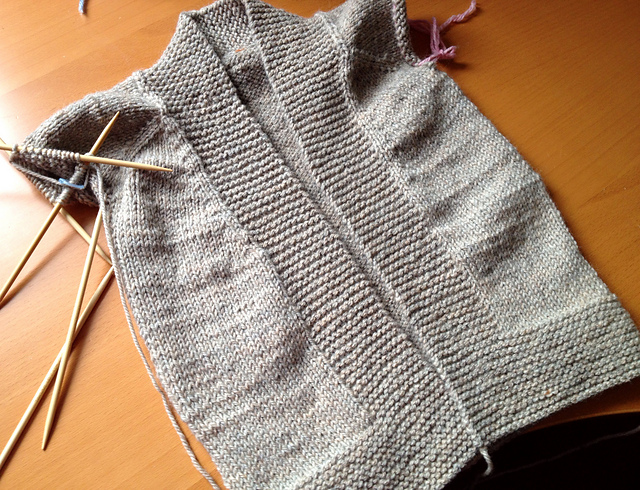
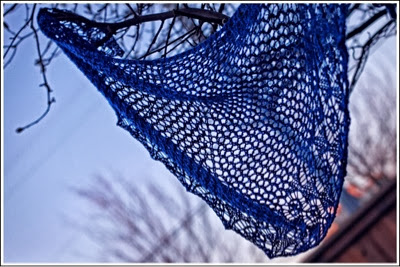
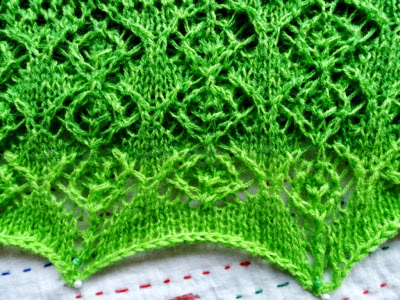
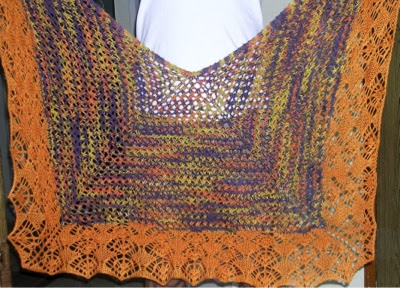
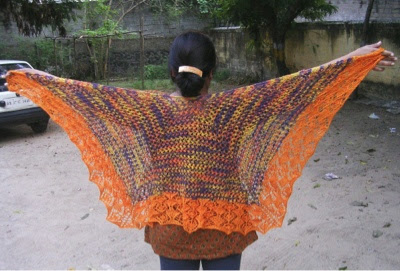
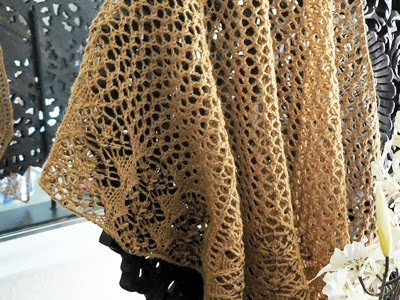
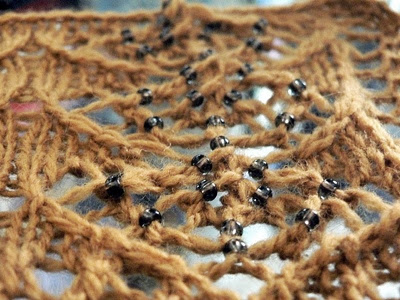
In order to meet a gauge given in pattern, knitters/ crocheters usually knit or crochet a small piece with their intended yarn, either working flat or in the round, depending on how the intended project will be made. However, apart from getting gauge information, one also gets information on what the final fabric of the project will be (drapey or stiff).
I usually take two sets of measurements - Pre-blocking AND Post-blocking. That gives me an idea of how much the fabric will grow or shrink after washing the finished project.

When trying to match a pattern's gauge
If your swatch gives fewer number of sts when compared to the pattern's gauge, this means your stitches are larger in size than the designer's. In order to fix this try again with a smaller needle than the one used before. If you proceed with your first gauge, you will get a finished project which is wider when compared to the pattern's measurements.
If on the other hand, your swatch gives more number of sts when compared to the pattern's gauge, it means that your stitches are smaller in size than the designer's. In order to fix this, go up a needle size and try again. Keep doing this until gauge is met. If you proceed with your first gauge, you will get a finished project which is narrower than the pattern's measurements.

If you want to proceed with your first gauge, you will have to recalculate the numbers in the pattern to get the same measurements.

In practice mostly, it is essential that at least the stitch gauge is met (to get the intended width of finished project). We can always work more or less number of rows or rounds to meet the final length measurements. (This will be tackled in depth in a future post.)


------------------------------------------------------ © DESILOOP

Sunday 29 September 2013

Pattern Info - Jaali Crocheted Shawl Variations

‘Jaali’ is Hindi for ‘Mesh’. The word has various applications including architecture, textiles, utensils etc. If you are not already aware, I am completely multicractual. I always try and learn new techniques and ways to express my creativity and imagination. Most of my designs ideas come randomly to me, while working on something completely unrelated. In this case however I wanted to create a crocheted version of my first knitted shawl design. The motif and idea of the body pattern are very close to my original knitted version. Take a look below for more details.

Here are my original triangle kerchief samples for the design.


Full scale triangular versions by Pixie56.


Merripurdy also made the triangular version but she improvised on the motif portion at the edge. She made it so that each motif in the second repeat falls between two motifs from the first repeat.


Trapezoidal versions from Madinina


By Bizyhands


& By Amerz


Full square version from LinteeBean


Pattern Details
Standard American Terms Used
Pattern has been tested and tech-edited

 
Published: June 2011
Suggested Yarns: The pattern can be used for any size yarn starting from fingering up to worsted. The size of the finished shawl/ shawlette will depend on no. of repeats made and size of yarn used
Needles: Use hook/s that give you desired drape and fabric
Gauge: Irrelevant
Styles Available: Shawlette(Triangle), Shawl(Triangle, Trapezoid, Full Square)
Pattern PDF: The pattern pdf has 5 pages including instructions, chart and schematics. It also contains pictures of each shawl shape worked in various yarn and needle sizes. For more information or questions please send me a message on ravelry or an email (given in pattern pdf).

Pattern Cost: $ 7.00 US
Pattern Availability:
Click on links below to visit the relevant store for purchase
Craftsy | Ravelry | Patternfish | Etsy

Pattern Info Snapshot


------------------------------------------------------ © DESILOOP

Monday 26 August 2013

Garden Update

The two LOADED apple trees in my garden are unfortunately diseased. Am working on a solution to save them.


------------------------------------------------------ © DESILOOP

Wednesday 14 August 2013

Pattern Info - Jaali Knitted Shawl Variations

'Jaali' is Hindi for 'mesh'. The word has various applications including architecture, textiles, utensils etc. The knitted version of Jaali was my first shawl design ever. At the time I had just started taking online classes. I decided to take these since I was not able to travel as much as I wanted for my crafty endeavours. Some famous designers had started giving online classes through their Ning networks and so it was the perfect opportunity for folks like me.

So at this time I had joined Design Your Own Shawl Class by Stefanie Japel. I thoroughly enjoyed it, and as a result, Jaali was born. From the get go, I wanted to give the knitter a choice of the shape of shawl they wanted to knit. As a result, the final pattern has details on how to knit the triangle, trapezoid and full-square versions. There is also a choice of the size of the shawl. One can knit the shawlette or full size. I ended up knitting both these versions for samples.

For more details on this pattern see below.

This is the full version of the shawl knit using Madelinetosh Tosh DK on fawn. This is such a great yarn to work with. The shawl was made as a wedding gift for my former director at my full-time job. She loved it a lot and even sent me pictures of her modelling it. I was so happy.


The second version I knit was a triangle shawlette using fingering weight yarn from Artist's Pallette yarns - Damsel Plus in DP1014 colorway. I completely fell in love with this yarn.

I was just getting started publishing my designs online when this one happened and so I had it tested. And lo and behold I was so awed by the projects from everyone that I wanted to show everything to the world. So here are some of my tester's projects. 

Shawlette version by ramblingroses (ravelry). Don't you just love the photography on these?


Triangle full shawls:
By Rufarocrafty (Ravelry)

By Jaishree (Ravelry)

By Axta (Ravelry)


Trapezoidal full shawl:
By MerryAmethyst (Ravelry)


Beaded Triangle full shawl:
By Cmuralidhara (Ravelry) - who is also the tech - editor for this pattern.


Pattern Details
Standard American Terms Used
Pattern has been tested and tech-edited
 
Published: April 2011
Suggested Yarns: The pattern can be used for any size yarn starting from fingering up to worsted. The size of the finished shawl/ shawlette will depend on no. of repeats made and size of yarn used
Needles: Use needles that give you desired drape and fabric
Gauge: Irrelevant
Styles Available: Shawlette(Triangle), Shawl(Triangle, Trapezoid, Full Square)
Pattern PDF: The pattern pdf has 6 pages including instructions, chart and schematics. It also contains pictures of each shawl shape worked in various yarn and needle sizes. For more information or questions please send me a message on ravelry or an email (given in pattern pdf).

Cost: $ 7.00 US
Pattern Availability:
Click on links below to visit the relevant store for purchase

Pattern Info Snapshot 


Monday 12 August 2013

Garden Update


The rescued money plant that almost died again. It's thriving now.

Monday 29 July 2013

Dyeing Update

This is my third batch of dyeing yarn. I love them both.

 Yarn is prepped for dyeing

New colorway I am working on

 Sindoor (vermillion in Hindi) colorway


------------------------------------------------------ © DESILOOP

Tuesday 23 July 2013

Garden Update


Ginseng Bonsai from Ikea completely shed when I bought it home last year. I feared it had died, since there were no leaves for over 6 months. I guess patience pays. Now it lives near the kitchen window.

Monday 15 July 2013

How to Sew a Quilted Ironing Board Cover

There comes a time in the life of an ironing board when it needs a new cover. For our board, the time came long back but I had been shying away from making a new one. However, since our clothes were getting the metal grid marks when pressing, I finally decided to give it a go. I tried searching for a simple way of doing it and found a lot of tutorials that used the older cover and simply made a new cloth cover. However, that wouldn't do it for us. For the frequency at which we have to iron our clothes, our board needed a lot of padding. Then I came across a quilted piecing tutorial which gave me an idea… why not make a quilted cover for my board. And so it began…

I used a vintage sheet, some cotton batting and some high loft batting to get some extra padding for my cover.
Step 1: I measured the ironing board at the longest and widest point, added about (2 to 4 inches to both measurements to make the final cover more roomy. My original one kept slipping off the board.)
With these measurements, I roughly cut rectangles from my fabric and both battings. Made a sandwich with the fabric on top, followed by cotton batting, followed by the high loft batting.


Step 2: Then I went ahead and quilted this sandwich with straight lines across top to bottom and left to write. Where I didn't have enough fabric to cover the batting, I added a patch (You will see it at the narrowest edge of the picture below.


Step 3: Then I put the original cover over this sandwich to check the size.


Checked it on the board skeleton to see if the cover will fit fine all around.


The quilting shifted the sandwich layers a bit so I went ahead and re cut the edges to have roughly 1.5 to 2 inches around.


Step 4: Next I needed a  casing for the elastic/ tie that would make the cover fit snugly. I didn't want to use the nicer fabrics I have in stash cause I already have a plan for them. So I decided to use as much of the original cover as I could. Luckily for me, the original cover's pattern had solid lines going on, so I cut strips using those.


Step 5: Then I joined these strips in the same way as joining strips for bias binding… place two strips right sides together, perpendicular to each other, and then sew a diagonal from the left top edge of the crossover, to the right bottom. Opened the strip to check the straight line and then trimmed the excess off. I joined three long strips and had just enough to go all around the cover sandwich.


Step 6: Attached the casing by folding over at the edges, sewed all around. Then folded the raw edges under the cover and used a zig zag stitch to attach it all around.


 Step 7: Measured elastic at the centre length of the ironing board, 3 inches short each side. Then put it through the casing with edges held together with safety pin temporarily. Put the cover on the board and then pulled the elastic taut. Knotted the ends. (This was me planning for a future where I would need to change the elastic. And voila… I had my new ironing board cover with extra padding!!!


Onto the next project then...

------------------------------------------------------ © DESILOOP

Friday 5 July 2013

Some recycling and Tasty endeavors

Off late, I have been trying to start recycling fabric from old clothing and linens, that I have been gathering from family and friends over time, to make some useful items. One of my first trial was trying to transform my dear friend's infant daughter's dress into a ruffled tote. I did not want to loose all the great features that the dress already had and at the same time, get a good shape for a tote. I think I did succeed in making something quite useful. In the process I also learnt quite a few things that I would like to do in a similar future project. Unfortunately, no pictures were taken during the process of transformation but I will be sure to take some during the next one. Here is the final outcome…


I think this turned out quite a cutie, but then again, I might be a bit biased ;) Nevertheless, this is going to be a present for my niece since it was her dress I used in the first place, and also, since this was one of my first project for recycling old clothing. I used a vintage sheet for the lining in this one and the shoulder straps from the original dress as cute little handles. More to come on similar projects.

While all the creative juices were flowing on the crafty side, I was craving for some Chipotle burrito/ bowls. This was one of the first places we ate in when we moved to US back in the day and since then, it has remained one of our favorites. However, we do not have a Chipotle nearby, now that we have moved. So I decided to take a stab at making my own version of the bowl/ burrito. It turned out awesome, so much so that, I ended up eating it two days in a row. Even my husband loved it.


The bowl was more of assembling the flavors together rather than involving a whole lot of cooking. Here is what I did:
  • Boiled 1 cup rice and black beans each
  • Cut a small tomato, onion, two avocados (we love 'em), coriander leaves/ cilantro, small to medium capsicum/ bell pepper
  • Put everything together in a serving bowl, seasoned with salt, freshly ground black pepper, and cajun salt. Added some lime juice and a dollop of sour cream (optional)
  • Mixed up everything to even out the seasoning and dived right in :)

------------------------------------------------------ © DESILOOP